Secure Boot Errors and Solutions: Complete Troubleshooting Guide

Quick Answer
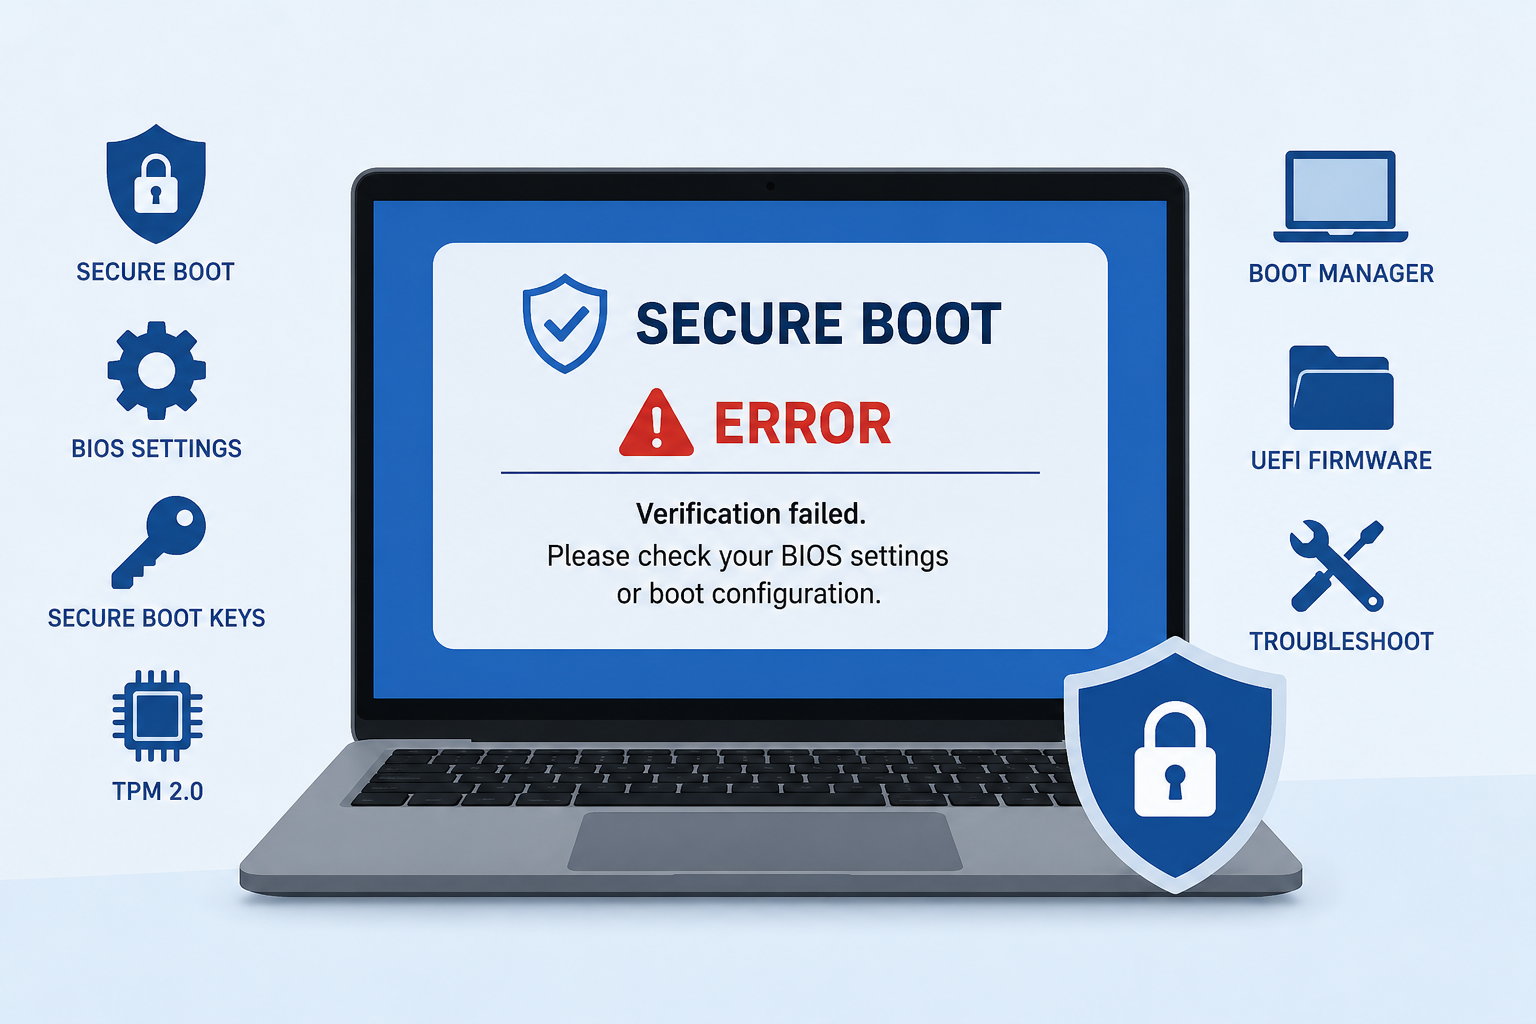
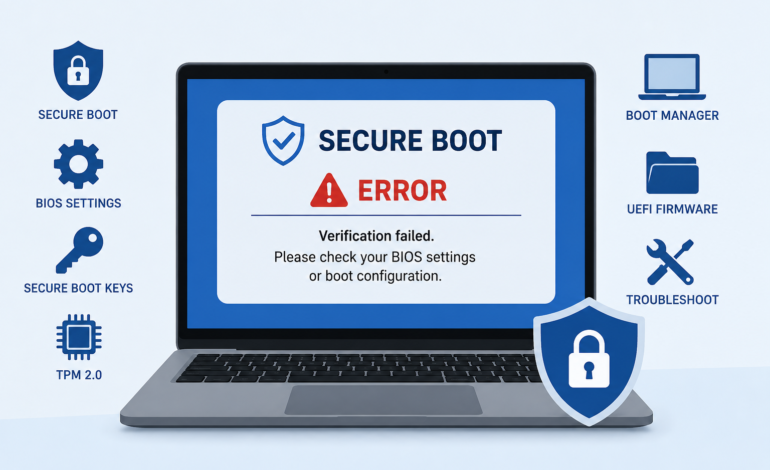
Most Secure Boot errors occur because of incorrect BIOS settings, outdated UEFI firmware, missing Secure Boot keys, incompatible boot configuration, or disabled security features such as TPM 2.0. Identifying the exact error message and applying the appropriate fix—such as restoring Secure Boot keys, updating firmware, switching to UEFI mode, or repairing the boot manager—usually resolves the problem without reinstalling Windows.
Key Takeaways
- Outdated BIOS, missing Platform Keys (PK), or incorrect boot settings can prevent Secure Boot from functioning correctly.
- Most Secure Boot problems can be resolved by adjusting UEFI firmware settings and restoring default security keys.
- Understanding the specific error message helps you choose the correct troubleshooting method.
Introduction
A Secure Boot error can interrupt the startup process without warning, leaving many users unsure whether the problem lies with Windows, the motherboard, or the firmware itself. One moment the computer is working normally, and the next it displays a verification message, refuses to boot, or remains on a black screen after a firmware change. These situations are especially common after a BIOS update, enabling TPM 2.0, changing boot settings, or installing a different operating system.
Although these problems may appear serious, they are usually the result of configuration changes rather than hardware failure. Secure Boot works by verifying that every component loaded during startup is trusted and digitally signed. If the firmware detects an unexpected bootloader, missing security certificates, or an invalid startup file, it blocks the boot process to protect the system from unauthorized software. This protection is one of the reasons Secure Boot has become an essential part of Windows 11 security.
Because several technologies work together during startup, identifying the real cause requires more than simply reading the error message. UEFI firmware, Secure Boot keys, the Windows Boot Manager, TPM 2.0, and the system’s boot configuration all contribute to a successful and secure startup. A problem in any one of these areas can trigger issues such as Secure Boot failed to verify digital signature, Secure Boot boot failure, or Secure Boot not working after a BIOS update.
What Causes Secure Boot Errors?
Secure Boot depends on a chain of trusted components that begins the moment you press the power button. Before Windows starts, the UEFI firmware verifies the digital signatures of the boot manager, firmware authentication data, and other startup files. If any element in this chain cannot be verified, the firmware stops the startup process to prevent potentially unsafe software from loading.
The most common causes include outdated firmware, incorrect BIOS settings, missing Secure Boot keys, corrupted boot configuration, disabled TPM 2.0, Compatibility Support Module (CSM) conflicts, or switching between Legacy BIOS and UEFI mode. Understanding these causes makes it much easier to apply the correct fix instead of relying on trial and error.
Secure Boot Errors and How to Fix Them
Once the cause is identified, troubleshooting becomes much more straightforward. Different Secure Boot failures point toward different problems, so the safest approach is to match the symptom with the underlying firmware or boot configuration issue.
Secure Boot Failed to Verify Digital Signature
A digital signature verification error usually means that the UEFI firmware cannot confirm that a boot component is trusted. The problem may involve the Windows Boot Manager, a modified bootloader, missing Secure Boot keys, or an unexpected change to the system’s startup files.
Start by entering the UEFI firmware and checking whether Secure Boot is enabled correctly. If the firmware reports missing or invalid keys, look for an option such as Restore Factory Keys or Install Default Secure Boot Keys.
If the problem appeared after installing another operating system or modifying the bootloader, check the current boot configuration before making further changes. The goal is to restore a trusted startup path without unnecessarily reinstalling Windows.
Secure Boot Black Screen After Enabling
A black screen after enabling Secure Boot can be particularly concerning because the system may appear completely unresponsive. However, the cause is often a compatibility issue between the firmware configuration and the existing boot environment.
First, determine whether the computer actually completes its startup process. If you can access the UEFI firmware but Windows does not load, check the selected boot device and make sure Windows Boot Manager remains available.
A recent change from Legacy BIOS to UEFI can also cause startup problems when Windows was installed using an incompatible partition configuration. In that situation, verify that the system drive uses GPT and that the firmware is configured for UEFI booting.
If Secure Boot was enabled immediately before the problem appeared, temporarily returning to the previous firmware configuration can help isolate the cause. Once Windows starts normally, review the boot configuration before trying again.
Secure Boot Boot Failure in Windows 11
A Secure Boot boot failure occurs when the firmware prevents the operating system from continuing through the normal boot sequence. Windows 11 can display different messages depending on whether the problem involves the boot manager, firmware settings, or trusted startup files.
Begin by entering the firmware settings and confirming these basic requirements:
- UEFI mode is enabled.
- Legacy BIOS is disabled.
- CSM is disabled when required.
- Windows Boot Manager is selected as the primary boot option.
- Secure Boot keys are installed.
- The system drive uses GPT.
If Windows still refuses to start, Windows Recovery can provide additional repair options. Startup Repair may correct certain boot configuration problems without affecting personal files.
For users who previously encountered a missing Secure Boot setting, the guide Secure Boot Option Missing? Here’s How to Fix It provides additional configuration checks before continuing with advanced troubleshooting.
Secure Boot Not Working After a BIOS Update
A BIOS update can reset customized firmware settings to their defaults. Consequently, Secure Boot may become disabled, disappear from the menu, or stop recognizing previously configured security keys.
After a firmware update, enter the UEFI interface and review the complete boot configuration rather than changing only the Secure Boot toggle.
Check the following:
- Confirm UEFI mode is active.
- Check whether CSM has been re-enabled.
- Verify that Windows Boot Manager remains the primary boot option.
- Check the Secure Boot state.
- Restore factory Secure Boot keys if necessary.
- Save the configuration and restart.
Firmware updates can also change the location or wording of individual options. Therefore, don’t assume your motherboard uses the same menu structure as before the update.
If you’re using ASUS BIOS, MSI Click BIOS, Gigabyte UEFI, Dell BIOS, HP BIOS, Lenovo BIOS, or Acer BIOS, the exact names may differ considerably.
Secure Boot Error After Enabling TPM 2.0
TPM 2.0 and Secure Boot are separate security technologies, although both contribute to the broader Windows 11 security model. TPM primarily provides hardware-backed protection for cryptographic keys and security measurements, while Secure Boot validates trusted software during startup.
Therefore, an error appearing after enabling TPM 2.0 doesn’t necessarily mean that TPM itself caused the failure.
Check the firmware’s boot mode, Secure Boot state, and Windows Boot Manager first. Also verify that the system hasn’t unexpectedly switched between Legacy BIOS and UEFI mode.
For a deeper explanation of the distinction, see Secure Boot vs TPM 2.0, which explains why these technologies complement rather than replace one another.
Restore Secure Boot Keys
Missing or incorrectly configured Secure Boot keys can prevent firmware authentication from working properly. Secure Boot commonly relies on several key databases, including the Platform Key (PK), Key Exchange Keys (KEK), the allowed signature database (db), and the forbidden signature database (dbx).
If your firmware provides the option, restoring the manufacturer’s default keys can resolve verification problems.
Look for options such as:
- Restore Factory Keys
- Install Default Keys
- Reset Secure Boot Keys
- Restore Secure Boot Database
The exact terminology depends on the motherboard manufacturer. Avoid deleting individual keys unless you understand their purpose and have a specific reason to modify them.
Secure Boot Verification Failed
When Secure Boot verification fails, the firmware has detected that a startup component does not match an approved signature or trusted configuration.
Possible causes include:
- An altered bootloader
- Missing Secure Boot keys
- Outdated firmware
- Incorrect boot configuration
- Unsupported operating-system components
- Firmware database changes
Rather than immediately disabling Secure Boot, identify which component failed verification. Keeping the protection enabled is generally preferable because its purpose is to prevent untrusted software from executing during startup.
If the error appeared after installing another operating system, check whether its bootloader supports the current Secure Boot configuration.
Why Does Secure Boot Keep Failing?
Repeated failures usually indicate that an underlying configuration problem has not been corrected. Simply toggling Secure Boot on and off may temporarily change the symptom without addressing the actual cause.
Check the entire startup environment:
UEFI mode → GPT partition → CSM disabled → Secure Boot keys → Windows Boot Manager → trusted boot files
This sequence provides a useful diagnostic framework. If one component doesn’t match the expected configuration, Secure Boot may continue reporting errors.
Expert Tip
Don’t treat Secure Boot as an isolated BIOS switch. It works as part of a larger trust chain involving firmware, boot configuration, digital signatures, and the Windows Boot Manager. Checking the complete startup environment is usually more effective than repeatedly toggling individual settings.
What to Check Before Moving to Advanced Repairs
Before using more advanced recovery methods, confirm that:
- The computer boots using UEFI.
- The system disk uses GPT.
- CSM isn’t interfering with Secure Boot.
- Windows Boot Manager is present.
- Secure Boot keys are installed.
- Firmware is reasonably up to date.
- Windows Recovery is accessible if normal startup fails.
Troubleshooting Checklist, FAQs, and Final Solutions
When Secure Boot continues to fail after basic configuration changes, a structured diagnosis is more effective than repeatedly changing BIOS settings. The following checklist brings the major troubleshooting paths together and helps identify where the startup process is breaking.
Secure Boot Troubleshooting Checklist
Before making advanced changes, review the following configuration:
| Check | What to Verify | Why It Matters |
|---|---|---|
| Boot mode | UEFI is enabled | Secure Boot requires UEFI |
| Legacy BIOS | Disabled | Legacy mode can prevent Secure Boot |
| CSM | Disabled when required | CSM can interfere with Secure Boot |
| Partition style | GPT | UEFI installations generally use GPT |
| Windows Boot Manager | Present and selected | Provides the trusted Windows startup path |
| Secure Boot keys | Default keys installed | Enables firmware authentication |
| Firmware | Current and compatible | Can resolve firmware-related problems |
| TPM 2.0 | Enabled when required | Supports broader Windows 11 security |
This checklist is particularly useful after a BIOS update because firmware settings can revert to their defaults.
Common Mistakes When Fixing Secure Boot
Troubleshooting Secure Boot requires caution because firmware settings directly affect how Windows starts. A small configuration change can sometimes create a new boot problem while attempting to solve another.
Disabling Secure Boot Permanently
Turning Secure Boot off may bypass a verification error, but it doesn’t address the underlying cause. If the computer supports Secure Boot correctly, keeping it enabled generally provides stronger boot integrity.
Changing Several BIOS Settings at Once
Changing multiple options makes it difficult to determine which setting caused the problem. Instead, change one relevant configuration at a time and restart when appropriate.
Ignoring the Partition Style
Switching from Legacy BIOS to UEFI without checking the system disk can create startup problems. Verify whether Windows uses GPT before changing the boot mode.
Deleting Secure Boot Keys Unnecessarily
Secure Boot keys establish the firmware’s trust relationships. Removing them without understanding their purpose can make verification problems more complicated.
Interrupting a Firmware Update
A BIOS or firmware update should never be interrupted while it is being installed. Follow the motherboard manufacturer’s instructions and maintain stable power throughout the process.
When Should You Use Windows Recovery?
Windows Recovery becomes particularly useful when the firmware configuration appears correct but Windows still refuses to start.
If the system reaches the Windows Recovery Environment, options such as Startup Repair can attempt to correct certain boot-related problems automatically. Advanced users can also access additional recovery tools when appropriate.
However, recovery tools should be used according to the specific error. A firmware authentication problem and a corrupted boot configuration are different issues and require different solutions.
Secure Boot Errors: Cause vs Solution
| Error or Symptom | Likely Cause | First Solution to Try |
|---|---|---|
| Secure Boot failed | Incorrect firmware configuration | Verify UEFI and Secure Boot settings |
| Secure Boot verification failed | Missing or invalid keys | Restore factory Secure Boot keys |
| Digital signature error | Untrusted boot component | Check Windows Boot Manager and signatures |
| Black screen after enabling Secure Boot | Boot-mode incompatibility | Verify UEFI, GPT, and boot configuration |
| Boot failure in Windows 11 | Incorrect boot configuration | Check Windows Boot Manager |
| Error after BIOS update | Firmware settings were reset | Reconfigure Secure Boot and boot mode |
| Error after enabling TPM 2.0 | Firmware configuration conflict | Review UEFI and Secure Boot settings |
| Secure Boot keeps failing | Underlying configuration problem | Check the complete startup chain |
Expert Tip:
Troubleshoot the Trust Chain, Not Just the Error
Secure Boot is part of a broader security mechanism rather than an isolated switch. The firmware, security keys, boot manager, operating system, and digital signatures must all work together.
Therefore, repeatedly disabling and enabling Secure Boot rarely provides a lasting solution. Instead, identify where the trust chain breaks and correct that specific component.
This approach also reduces the risk of unnecessarily changing unrelated BIOS settings.
Frequently Asked Questions
What is the most common cause of a Secure Boot error?
Incorrect UEFI configuration is one of the most common causes. Legacy BIOS mode, enabled CSM, missing Secure Boot keys, and incorrect boot settings can all interfere with the verification process.
How do I fix a Secure Boot error in Windows 11?
Start by checking whether the system uses UEFI mode and whether Windows Boot Manager is selected. Then verify Secure Boot keys, CSM configuration, and the system’s boot configuration.
Why does Secure Boot keep failing?
Repeated failures usually indicate an unresolved firmware or boot configuration issue. Check UEFI mode, GPT partitioning, Secure Boot keys, Windows Boot Manager, and firmware compatibility.
What does Secure Boot failed to verify digital signature mean?
It means the firmware could not validate the digital signature of a boot component. The issue may involve an altered bootloader, missing keys, or an unsupported startup component.
Why is there a Secure Boot black screen after enabling it?
A black screen can occur when the current boot environment isn’t compatible with the new Secure Boot configuration. Checking UEFI mode, GPT partitioning, and the Windows Boot Manager can help identify the problem.
Can a BIOS update cause Secure Boot problems?
Yes. A BIOS update can reset customized firmware settings or change how security features are configured. After updating, review UEFI mode, CSM, Secure Boot keys, and boot priority.
Does TPM 2.0 replace Secure Boot?
No. TPM 2.0 and Secure Boot perform different security functions. TPM protects cryptographic information and supports hardware-backed security, while Secure Boot verifies trusted software during startup.
For a detailed comparison, see Secure Boot vs TPM 2.0.
Should Secure Boot remain enabled?
For most compatible Windows 11 systems, keeping Secure Boot enabled is recommended because it helps protect the startup process against unauthorized boot software.
Conclusion
However, most problems become easier to diagnose once the relationship between UEFI firmware, security keys, boot configuration, and Windows Boot Manager is understood.
Whether you’re dealing with Secure Boot verification failure, a black screen, a boot failure, or an issue following a BIOS update, start with the fundamentals. Confirm UEFI mode, review CSM settings, check the partition style, verify Secure Boot keys, and make sure Windows Boot Manager is configured correctly.
If the problem appeared after changing Secure Boot settings, our guide Secure Boot Option Missing can help identify firmware configuration issues. Likewise, readers who are still learning the fundamentals can revisit Secure Boot: What Is It and How It Matters and How Secure Boot Works: A Beginner-Friendly Explanation for additional context.
Once the underlying configuration is corrected, Secure Boot can provide an important layer of protection during the earliest stage of system startup. Combined with TPM 2.0 and other Windows security features, it contributes to a more resilient device security architecture.